Materials
For each camper:
4 bandages of different varieties (suggested: fabric bandage, plastic bandage, waterproof bandage)
Knuckle bandage
To share:
Bowl
½ cup of dark liquid (suggested: cold coffee or cola)
Dark powder (suggested: dirt or cocoa powder)
Hand soap
Scissors
Gauze
Gauze Pad
Waterproof medical tape
Waxed paper
Piece of paper
Plastic bag
Introduction
Objectives:
You will conduct a scientific investigation to test a variety of bandages to see which one is the most waterproof.
You will use what you have learned testing manufactured bandages to design and build your own waterproof bandages.
Time Required:
Part 1: 20 minutes
Part 2: 30 minutes
Part 3: 30 minutes
These estimations may be longer depending on the age of campers and the intensity of your testing.
Remember to take pictures of your bandage designs so that you can share them!
Age Range:
Parts 1-2: Grades 3-5 with guidance; Grades 6-8 independent
Part 3: Intended for extension challenge with Grades 5-8
Building a Better Bandage-Engineering
Adapted from Science Scope, Everyday Engineering, “It’s Stuck on You” by Richard H. Moyer and Susan A. Everett
Part A: EXPLORE: How do different bandages compare?
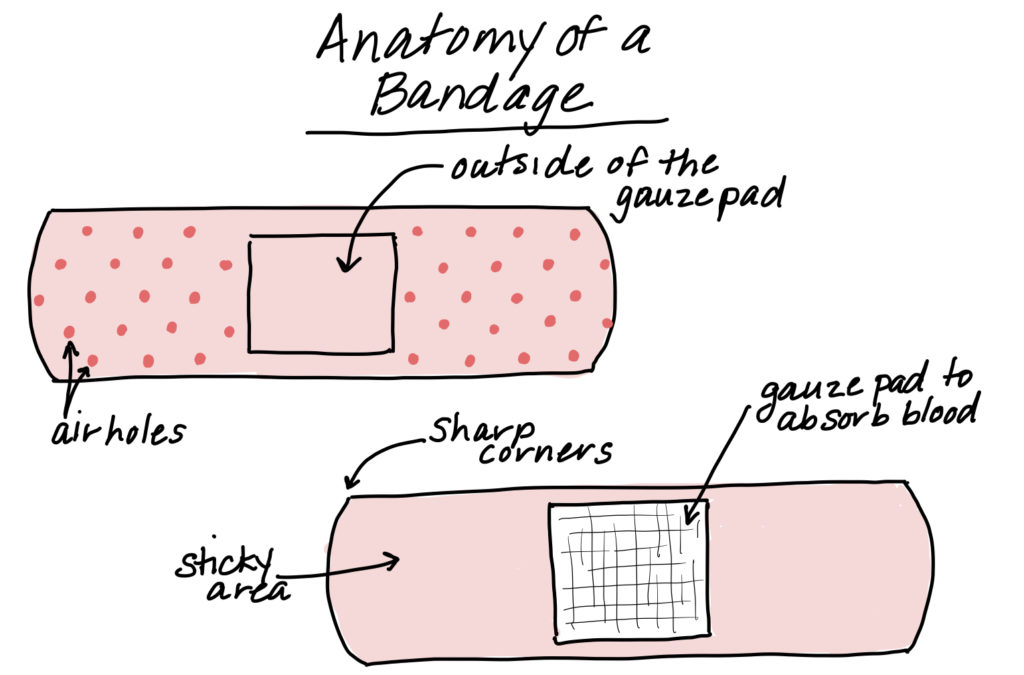
In order to make a good bandage design, you first need to examine the designs of bandages and decide what features are the most important. What are the features that make the best bandage? You will be testing them out! Remember, a scientific investigation ensures that the test for each bandage is EXACTLY THE SAME. Apply the same criteria to each bandage. This ensures that our results are reliable so that you can trust your results.
Read through the list below. Choose the features you want to test and come up with some of your own. If you have the boxes for the bandages, test the claims that are on the boxes.
| OVERALL SHAPE | SIZE OF GAUZE | AIR FLOW |
| MATERIAL USED FOR TAPE | STRETCHINESS | WATERPROOFING |
| STICKINESS OF TAPE | TEXTURE | DURABILITY |
| STICKIEST LOCATIONS | ABSORBENCY OF GAUZE | PROTECTION FROM DIRT |

Use one data chart for each bandage you test. Once your family has decided what features you want to test, write the features in the space provided in your data chart. If you are making your own data chart, the suggested design is shown in the link below.
Observations:
Many features will need you to observe. How do you do this? You use your senses.
You may TOUCH. Maybe you will simply LOOK at it. Some features will need to be SMELLED. Can you think of a feature that you will LISTEN to? But…….NO TASTING please!
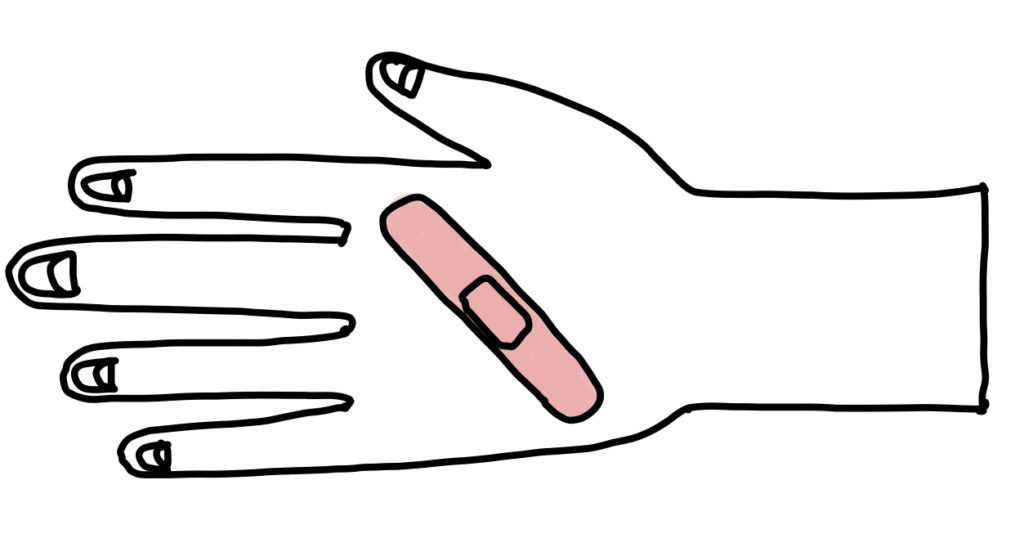
Apply the bandage on the back of your hand. Inspect the bandage. Record your observations and rating.
Rating:
You will be judging each of the bandages using a scale from 1 to 5.
A rating of 1 means that the feature has a terrible design. It makes the bandage a BAD choice.
A rating of 5 means that it has a terrific design. This is the BEST design for this feature.
Using a rating scale can be tricky. All of you will have to agree on which rating you will give each type of bandage. You will also need to explain WHY you have chosen the rating.
Testing:
Some features will need to be tested. Some suggestions:
To test waterproofing: (Save this material for part 2)
Put ½ cup of dark liquid in a bowl. Dunk or soak the hand with the bandage in the bowl. Think about how long you should hold your hand in the liquid. Should you move it around? How do you remove the bandage so that it is a fair test? Inspect the condition of the bandage. If the gauze is tinted brown, it is not waterproof. Record your observations and rating.
To test stickiness:
Wash the hand with the bandage for 20 seconds using hand soap. After drying, remove the bandage. How do you remove the bandage so that it is a fair test? Inspect the condition of the bandage. Record your observations and rating.
To test absorbency:
Add water, one drop at a time, to the gauze. Count how many drops of liquid are absorbed into the gauze before it stops holding all of the liquid.
To test protection from dirt:
Get some dirt or cocoa powder. Rub the hand with the bandage with the material. How do you remove the bandage so that it is a fair test? Inspect the condition of the bandage. Record your observations and rating.
Part B: ENGINEER – Design and make a waterproof bandage that WORKS!

Materials:
Here’s what each camper will need to have available:
Gauze
Medical Tape
Waxed Paper
Plastic bag
Scissors
Paper
For testing: (if you did these tests in Part 1, use the same materials)
A bowl
½ cup of dark liquid: room temperature coffee OR room temperature cola
Dirt or cocoa powder
Hand soap
Water
Design:
Use what you have learned to design a waterproof bandage to use on the back of your hand. Make a design plan with a sketch of your design for the waterproof bandage. Use the materials to build your bandage design!
Test:
Make a new data chart for your bandage design. Test your design, using the SAME Features and rating scale that you used for Part A. If you did not test waterproofing in Part A, add it to your testing procedure. Test your bandage for waterproofing.
Part C: ENGINEER IMPROVEMENTS – Redesign your waterproof bandage for a KNUCKLE!

Materials:
Here’s what each camper will need to have available:
Gauze
Medical Tape
Waxed Paper
Plastic Bag
Scissors
Paper
For testing: (if you did these tests in Part 1, use the same materials)
A bowl
½ cup of dark liquid: room temperature coffee OR room temperature cola
Dirt or cocoa powder
Hand soap
Water
Design:
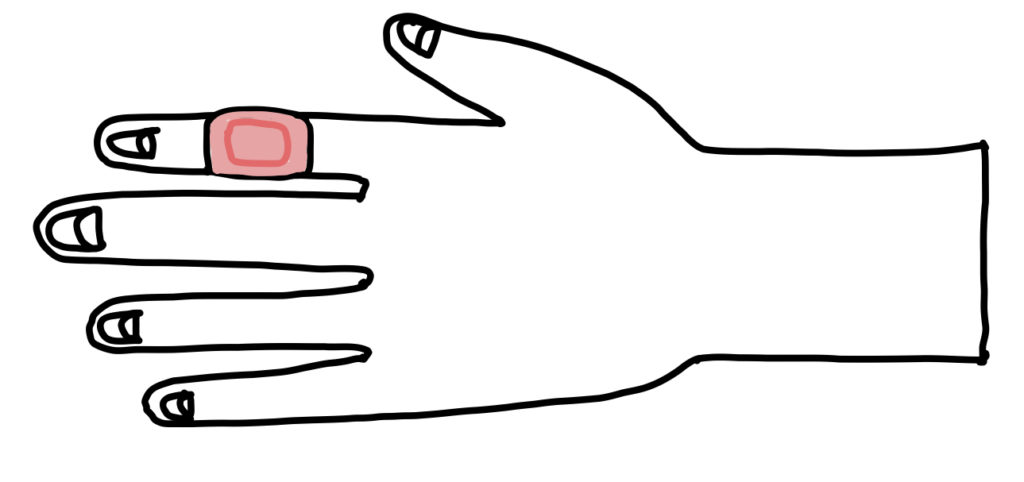
Use what you have learned to design a waterproof bandage to use on the middle knuckle of your index finger. Make a new design plan with a sketch of your design for the waterproof knuckle bandage. Use the materials to build your knuckle bandage design!
Test:
Make a new data chart for your knuckle bandage design. Test your design, using the SAME Features and rating scale that you used for Part A. If you did not test waterproofing, add it to your testing procedure. Test your bandage for waterproofing.

